Showing posts with label diy. Show all posts

Tuesday, 2 December 2014

Unique Christmas tree on a budget


red, turquoise, yellow and white  Christmas tree


This christmas I decided to do something completely different (for me) with my tree!

I seem to be in a bit of a yellow phase as I have added it to several rooms as an accent. 
It is not a traditional Christmas colour so to make it part of my decor took a bit of DIY.


Gold balls were purchased at my local thrift store. Most of the red glass balls came from the 
same thrift store. The wooden snowflakes and stars are from Michaels. 


I put The Martha Stewart fine yellow glitter on the stars using spray adhesive.

Easy cheap diy christmas ornaments

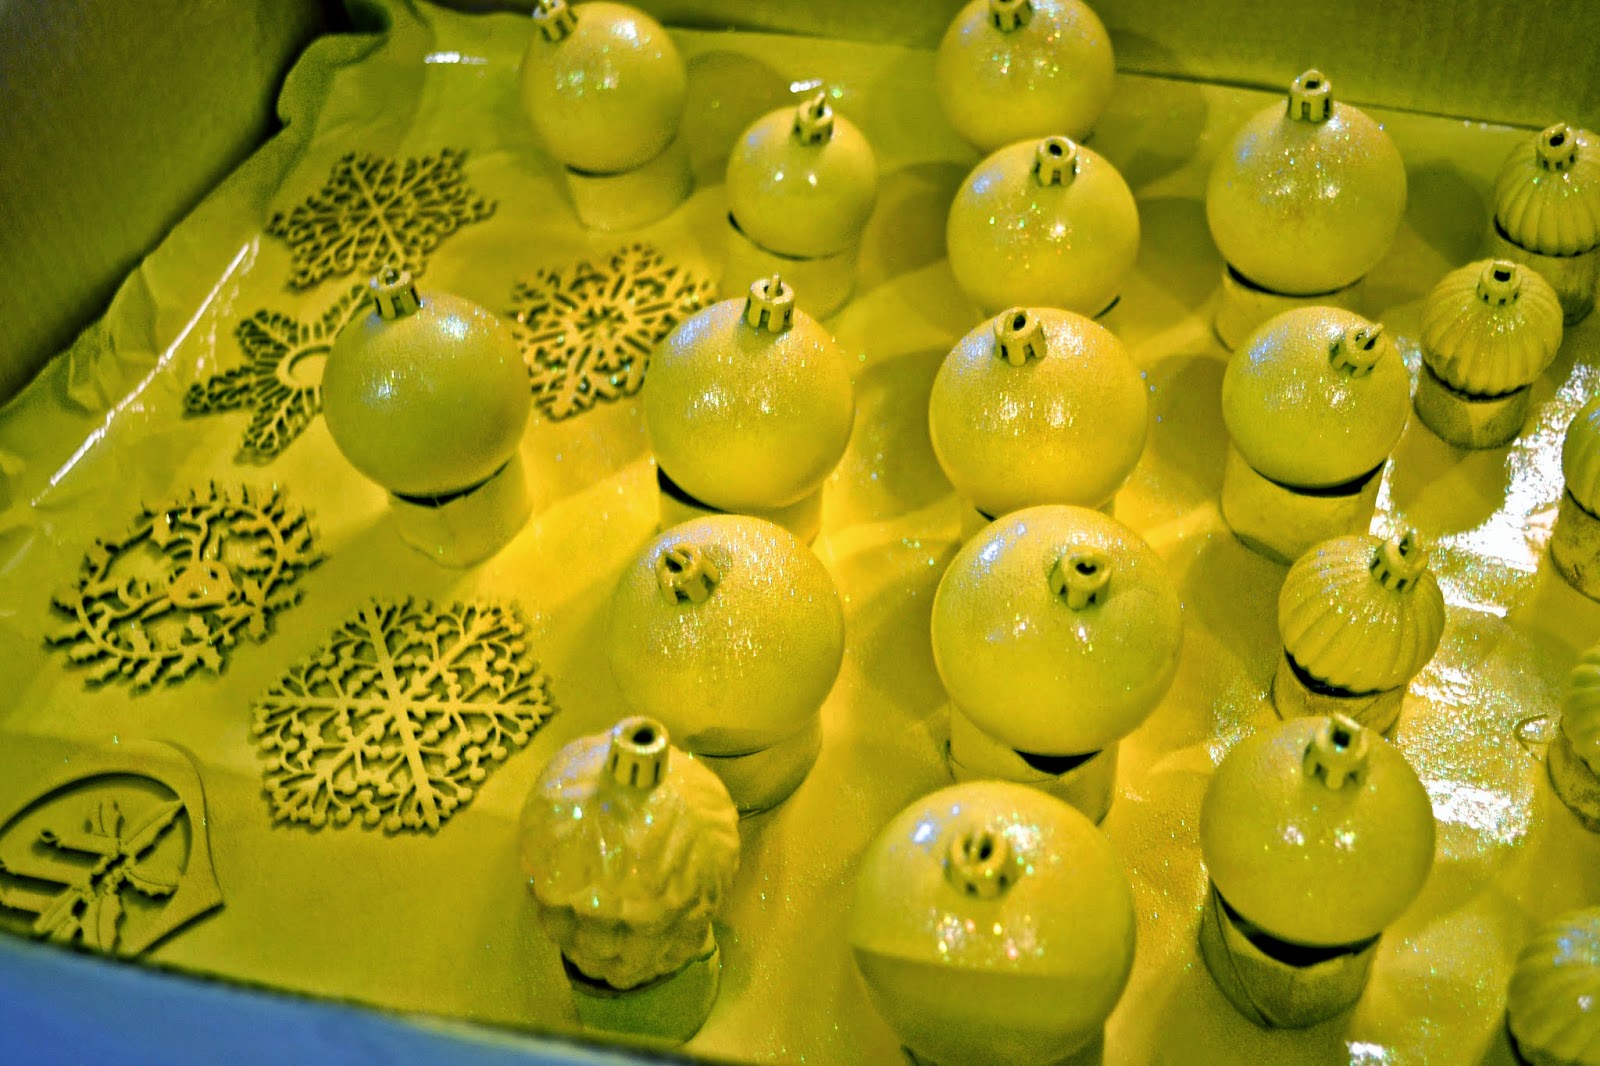
The yellow colours look a little off in the pics ( it must be the lighting). I spray painted all the
 ornaments in a large shallow box lined with foil. Cut up cardboard rolls were used for support.

Yellow christmas ornaments


Peace Christmas ornament

Turquoise has been one of my colours for a few years, consequently I had a lot 
ornaments in that colour. I found the peace ornaments on sale last year.


Joy christmas ornament

 Inexpensive gold Joy ornaments from Target were spray painted and glittered yellow.

Love christmas ornament

Red glitter card stock was the base for the word love. I made a pattern the size I wanted and 
cut out the words by hand with very small scissors. (pattern to follow)

Hope christmas ornament

In the same way the word hope is cut out of white card stock,
sprayed with adhesive and covered in white glitter. 

The patterns:


turquoise, red and yellow christmas gift boxes


A good tip is to wrap some boxes (the lids and bottoms separately) in colours to match your tree.
When christmas comes you can  pop some last minute gifts into them and presto: all wrapped!

Unique and colorful  christmas tree

Turn on the lights!

 I plan to share more of my Christmas decor ideas in my next post.

Enjoy your decorating!

Tuesday, 15 July 2014

"Doctor Who" party for a 13 year old.


When my grandson was turning 13 I wanted to be careful not to do a theme party that might seem childish. Teens are often more worried about being seen as childish than adults are. He had liked Dr. Who for a while so that is what I chose. There are a lot of sites with these kind of parties and a good number of ideas.


Dr. Who party table


THE DETAILS:


Dr. Who Tardis treat bags
I printed a Tardis picture and glued it to the front of a blue bag for the treat bags. I also used them as a centerpiece for the table .


                                        The napkin rings consisted
                                          of a rectangle of plaid as
                                          the ring with a picture of
                                          a bow tie glued to them.

My husband does my printing. We made a poster as large as we could on his printer for the back wall. I cut plastic tablecloths from the dollar store into streamers and made a border of larger bow ties. The stars were from Michaels.


Doctor Who cupcakes


We printed cupcake toppers from HERE and added some with pictures of a tardis and a dalek. We also made Tardis cupcake wrappers.


THE FOOD:

Veggie Dalek
The inspiration for the veggie dalek came from HERE. I used radishes in place of the cherry tomatoes.


Bow tie pasta salad

I made a BLT bow- tie pasta salad to keep with the theme. I found the recipe HERE. I didn't have buttermilk so I used 2% and I used romaine for the lettuce because I thought it would not wilt as easily as leaf lettuce. Everyone said it was yummy! I did use the Applewood smoked bacon and it is so good.


This is supposed to be " fish fingers and custard". It is actually PC shortbread and custard. I was planning to use icing sugar and water as glue to adhere graham crumbs for breading but as this whole party was planned and executed in 2 days I ran out of time.

I also ran out of time for this idea I got HERE. These are adipose marshmallows.


Bow tie toasts with cheese. I also used bow tie cheese to garnish the meat platter.


Doctor Who party table
I was thrilled to find these blue water bottles. The bows are hair-bows from dollar tree. In place of "jammy dodgers" there is a bowl of peak frean jam cookies.


Jelly candies for the 4th dr. "Would you like a jelly baby?"


The birthday boy seemed to like it.


If anyone is interested in any of the printables in PDF  form leave a comment with your email address and specify the ones you would like. No cost!

Wednesday, 6 February 2013

Lego Friends Birthday Party

Creating a Lego Friends Birthday Party presented 
it's challenges as there didn't seem to be anything
available for purchase that would help with the decor. 

To the rescue........my computer and printer. 


Lego Friends Birthday Table


Lego Friends table decoration card
The table card is printed on both sides and has a lego base to hold it up.
 Around the base are scattered candy blocks.


The party favors were small lego sets and the characters and animals
 from the sets are used as a table decoration.


Hanging Monograms

16 X 20 WALL POSTER

Ballon and Streamer Wall
treat bag labels
cupcake wrappers and toppers


HAPPY BIRTHDAY AMELIA!

Hoping this gives some good ideas for your party decor.

Wednesday, 2 January 2013

DIY Christmas Crackers (with tutorial)


DIY Christmas Crackers
This past Christmas I wanted to use my collection of vintage pink pyrex 
serving dishes and since it seemed very difficult to find pink crackers 
I decided to make my own. I will make an effort here to share how I did it.


I cut cardboard wrapping paper tubes to the size I wanted (4 inches) and made smaller
 tubes(2 inches) to use as stiffeners for  the ends while attaching the paper (they are
 removed after rolling). I cut the paper 10 inches long and wide enough to overlap
slightly on the cardboard tube(4 inches for the main part-4 inches for the end
parts and 2 extra inches to make room for tying).

I made a 2 inch cardboard template to fold the paper over so that the
inside of the rolls would look finished (I will admit that I might be a little ocd)


A glue gun works well for sealing the paper but if
 you don't have one you could just use scotch tape.


You can make your own paper hats or purchase them. I followed a pattern 
from a hat I had kept from a commercial cracker. You can make it entirely 
with tissue paper. I used silver wrapping paper for the front half of mine. 
You need to fold it small to fit in the cracker.


I thought maybe I could put the treats in before wrapping but it didn't
work well. It is best to put the treats in after tying one end. After
you have filled the tubes tie the other end tight with the ribbon or twine.

The cracker jokes were found  HERE.
I printed them to match my theme and laminated them with self-laminating sheets from Staples.
 I also made small bookmarks the same way. Normal size bookmarks
were too big for my crackers. It's a good idea to use the smaller end
tubes and gently push to make the paper shape before tying.
There are patterns out there for cutting card stock to make
crackers that fold easier as well.


A good idea is to put a dot of glue under
 the cracker snap at each end so that
 when the cracker is pulled it pops.

I used my decorative punches to make borders on pink vellum (a 1 inch piece for each
 end and a 2 inch piece for the middle section) and to make snowflakes from silver 
glitter paper. The papers came from Michaels. The snowflakes were finished with
an adhesive backed faux rhinestone(dollarama).  The vellum and the snowflakes
 were then glued onto the front of the cracker


Pink and Silver Christmas Cracker


A place setting Including DIY place cards.


The idea came from HERE.


The finished Pink table


Have Fun Creating!