I am definitely not a quilter! This quilt is a trial and error effort.
I made it after reading quite a few tutorials about quilting methods.
It is definitely not perfect but I am not unhappy with how it turned out.
If I can do this anyone can!
 |
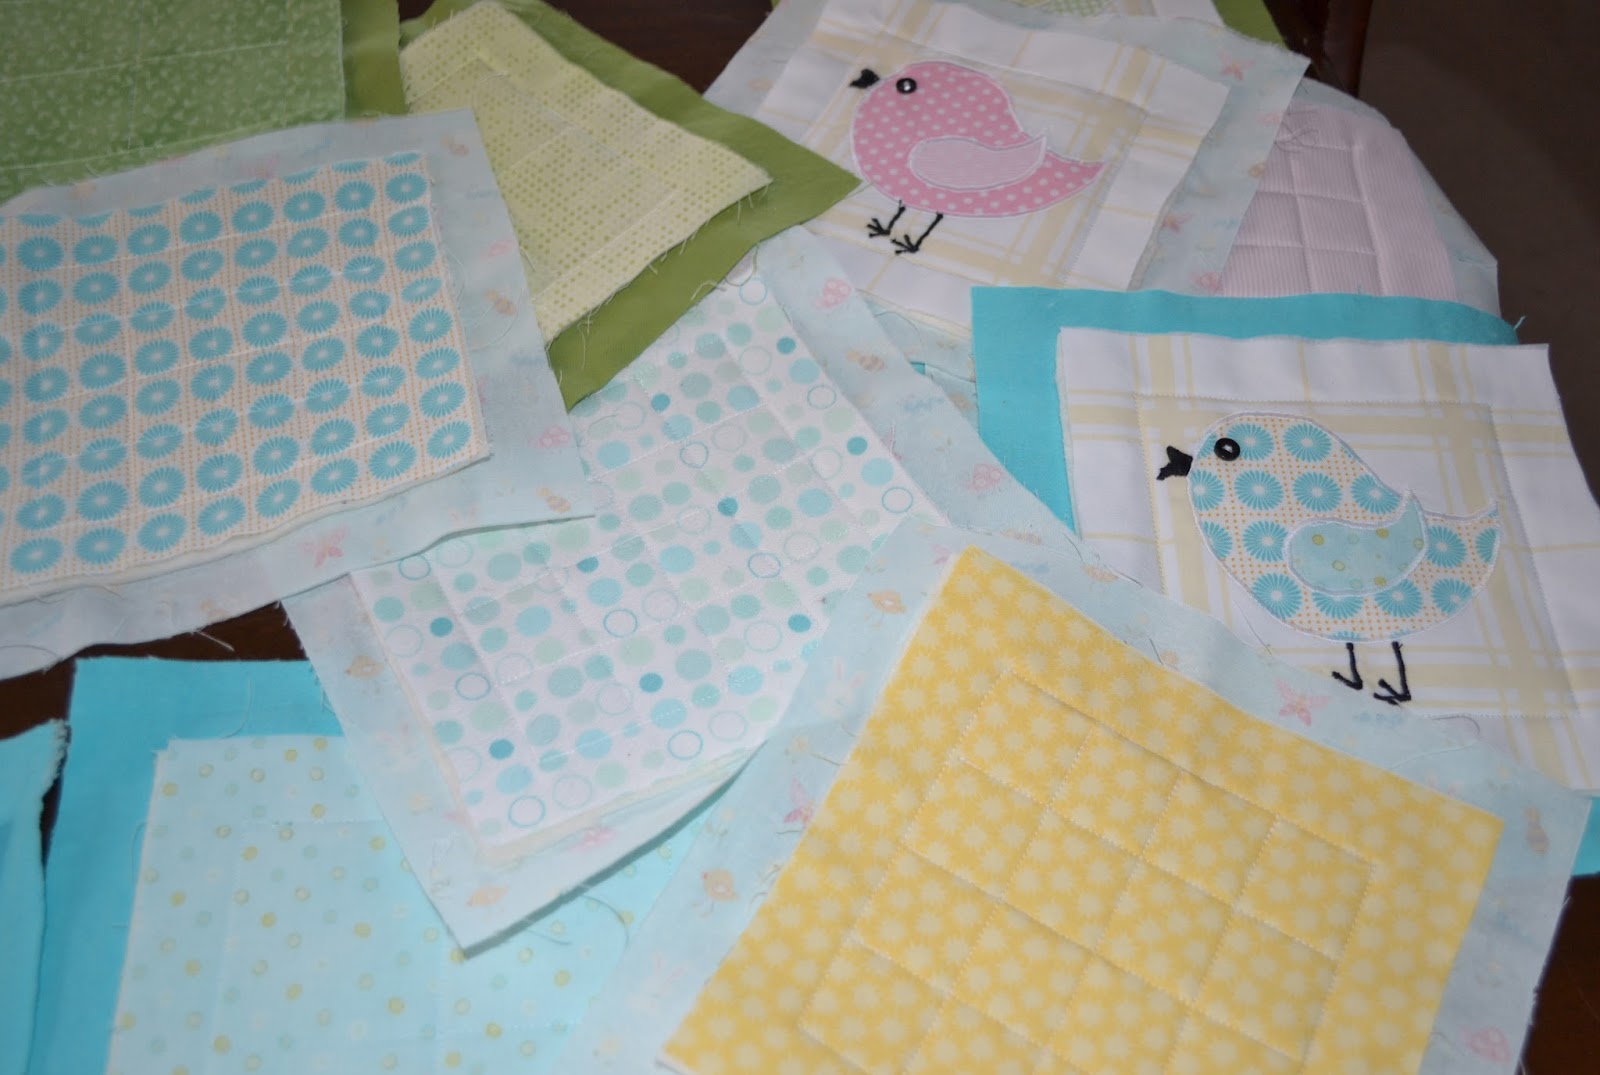
| Bird theme baby gift collection |
I wanted to do a bird theme gift for my newest granddaughter.
I started by drawing a simple bird.

My Plan

I uploaded fabric images and placed them in a "pages" document to
get an idea of how I wanted the top of my blanket to look.
get an idea of how I wanted the top of my blanket to look.

The top fabrics are all 100% cotton with a flannel print in each color for
softness and texture. The main backing fabric was chosen for
color and the small birds in the pattern
Because I decided to finish my blocks totally before joining this
wasn't the only backing fabric but it still was the main one.

This is my batting.
I decided to try this Quilt as you go method of making my quilt. I also decided to finish each block (front and back) and then join them (not sure I will do this again). Just one large backing piece would have been so much easier.
First I cut out all my fabric squares. You can make yours whatever size you want. I made mine 7"x7". Using ½" seams the end result is 6" squares.


would have the appliqué on them.
Cut your backing squares at least 2" larger than your top ones. I made mine 9". Four of the rows were plain fabrics using the four colors and the alternate rows were my main backing fabric creating wide stripes.
Press, press, press. To keep everything neat and flat! It is a good idea to stabilize the fabric for your appliqué squares with iron on lightweight interfacing.
Preparing the Appliqué

Print the bird template on freezer paper (you can adjust the size before printing to fit whatever size square you are using). Make sure to print on the dull side. Iron the print shiny side down onto the right side of your fabric. Do the same for the rest of the birds. Cut out the bird shapes. The freezer paper peels right off. If this doesn't make sense check out tutorials by searching: using freezer paper for appliqué.


Cut the beaks out of felt and iron on using the "heatn'bond"
 |
| The birds |

Use a very tight zig-zag stitch to sew around the birds and to make the feet (following the template). I also zig-zagged over the beak to make it more sturdy. Sew on (very securely) a small button for the eye.
If you prefer you could make an eye with embroidery.
Quilting the Squares

Sandwich a piece of batting the same size as the top square between it and the backing fabric.

Sew straight lines 1" from the edge around the square to create an inner square.Tip: I used a small square of paper for my corners to know when to stop sewing before turning and a piece of masking tape on my machine to keep a straight line with my backing fabric

for the squares with the solid backing I just divided the inner
squares with two lines.
I have highlighted the sewing lines so you can see what I did.
Sew a simple line making a square around the birds 1" from
the edge on the appliquéd squares.
For the squares with the main backing I divided the
inner square into sixteen even squares.
 |
| Quilted square back |
You can do a different quilting pattern.
This one is very simple for non-quilters like me.
 |
| quilted squares |
Putting it Together
I am missing a few photos here so I hope I can explain what I did.
Pin the backing fabric out of the way and sew the top of the squares right sides together into rows using a ½" seam. Refer to the "quilt as you go" tutorial linked to earlier. It is very helpful.

Lay out the rows in order the way you want your quilt to look.
The plan I had printed helped me with this.
Sew the fronts of each row together the same way you did the squares.
Sew the backs together following this tutorial. Sorry I have no photos of the process. I found it somewhat difficult and as a result I wasn't able to focus on photos. The tutorial is good. I also didn't do the hand sewing instead I folded the back edges of the squares under and sewed "in the ditch" around the front squares to finish as I was under time constraints. Hand sewing would no doubt look neater.
 |
| colors on the back |
The Border
I wanted a patchwork binding but you can bind the blanket any way you like. There are lots of tutorials about how to do this.
Here's how to do it the way I did:
Cut fabric pieces 7" long by 3" wide.

Fold fabric pieces in half lengthwise and press.

Lay out your border pieces to see how it will look
before you sew them together.

Place the border strips unfolded right sides together on the top of the blanket. Sew the top layers together as you did for the squares. Be sure to line up the rows evenly.
To make mitered corners follow this tutorial.


Fold over ½" on the back of the border and sew down covering the raw edge on the back and matching the border seam on the front. I would
suggest reading a few tutorials on blanket binding.

 |
| Finished baby quilt |


I must admit I like this picture of the quilt best of all!
I apologize for the parts of this tutorial that don't have photos. I hope
you will find better instructions online where mine have failed to be clear.
I will try to answer any questions if something doesn't make sense.
Writing tutorials is not my strong suit.
Good luck with your baby blankets!


